Getting Started with iDocThis
iDocThis keeps the medical, school, legal, and insurance records for the people you care for in one secure place. This guide gets you logged in and oriented. Screens look the same on iPhone and Android.
Logging in
Open the app and sign in with your email and password. If your device supports it, you can turn on Sign in with Face ID for faster access next time. Tap Forgot password? if you need help getting in.

A subscription is required to use iDocThis. If you're new, tap View subscriptions to choose a plan, then come back here to log in.
The home screen
After you log in, the home screen shows the person you're currently caring for — their name, your relationship, and a quick count of their Records, Events, and Documents. If you care for more than one person, swipe the card left and right to switch between them.
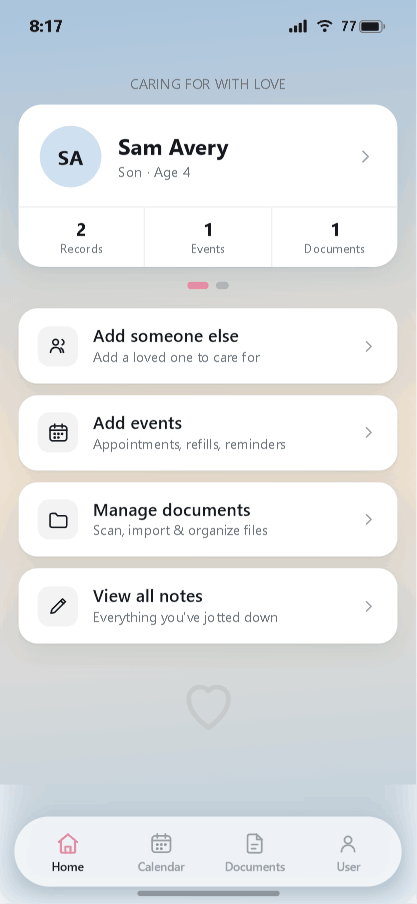
Below the card are quick actions for the things you'll do most:
- Add someone else — add another loved one to care for.
- Add events — appointments, refills, and reminders.
- Manage documents — scan, import, and organize files.
- View all notes — everything you've jotted down.
Getting around: the four tabs
The bar at the bottom of the screen is how you move through the app:
- Home — your loved ones and quick actions.
- Calendar — appointments and reminders on a monthly view.
- Documents — every file you've saved, searchable in one place.
- User — your profile, shared access, and settings.
That's the lay of the land. From here, the next guides walk through each task — starting with adding a loved one.
Stay organized with iDocThis
Keep the documents, notes, and dates that matter for Using iDocThis in one secure place.
Get startedRelated articles